Easy Homemade Peanut Butter Cups: Better Than Store-Bought
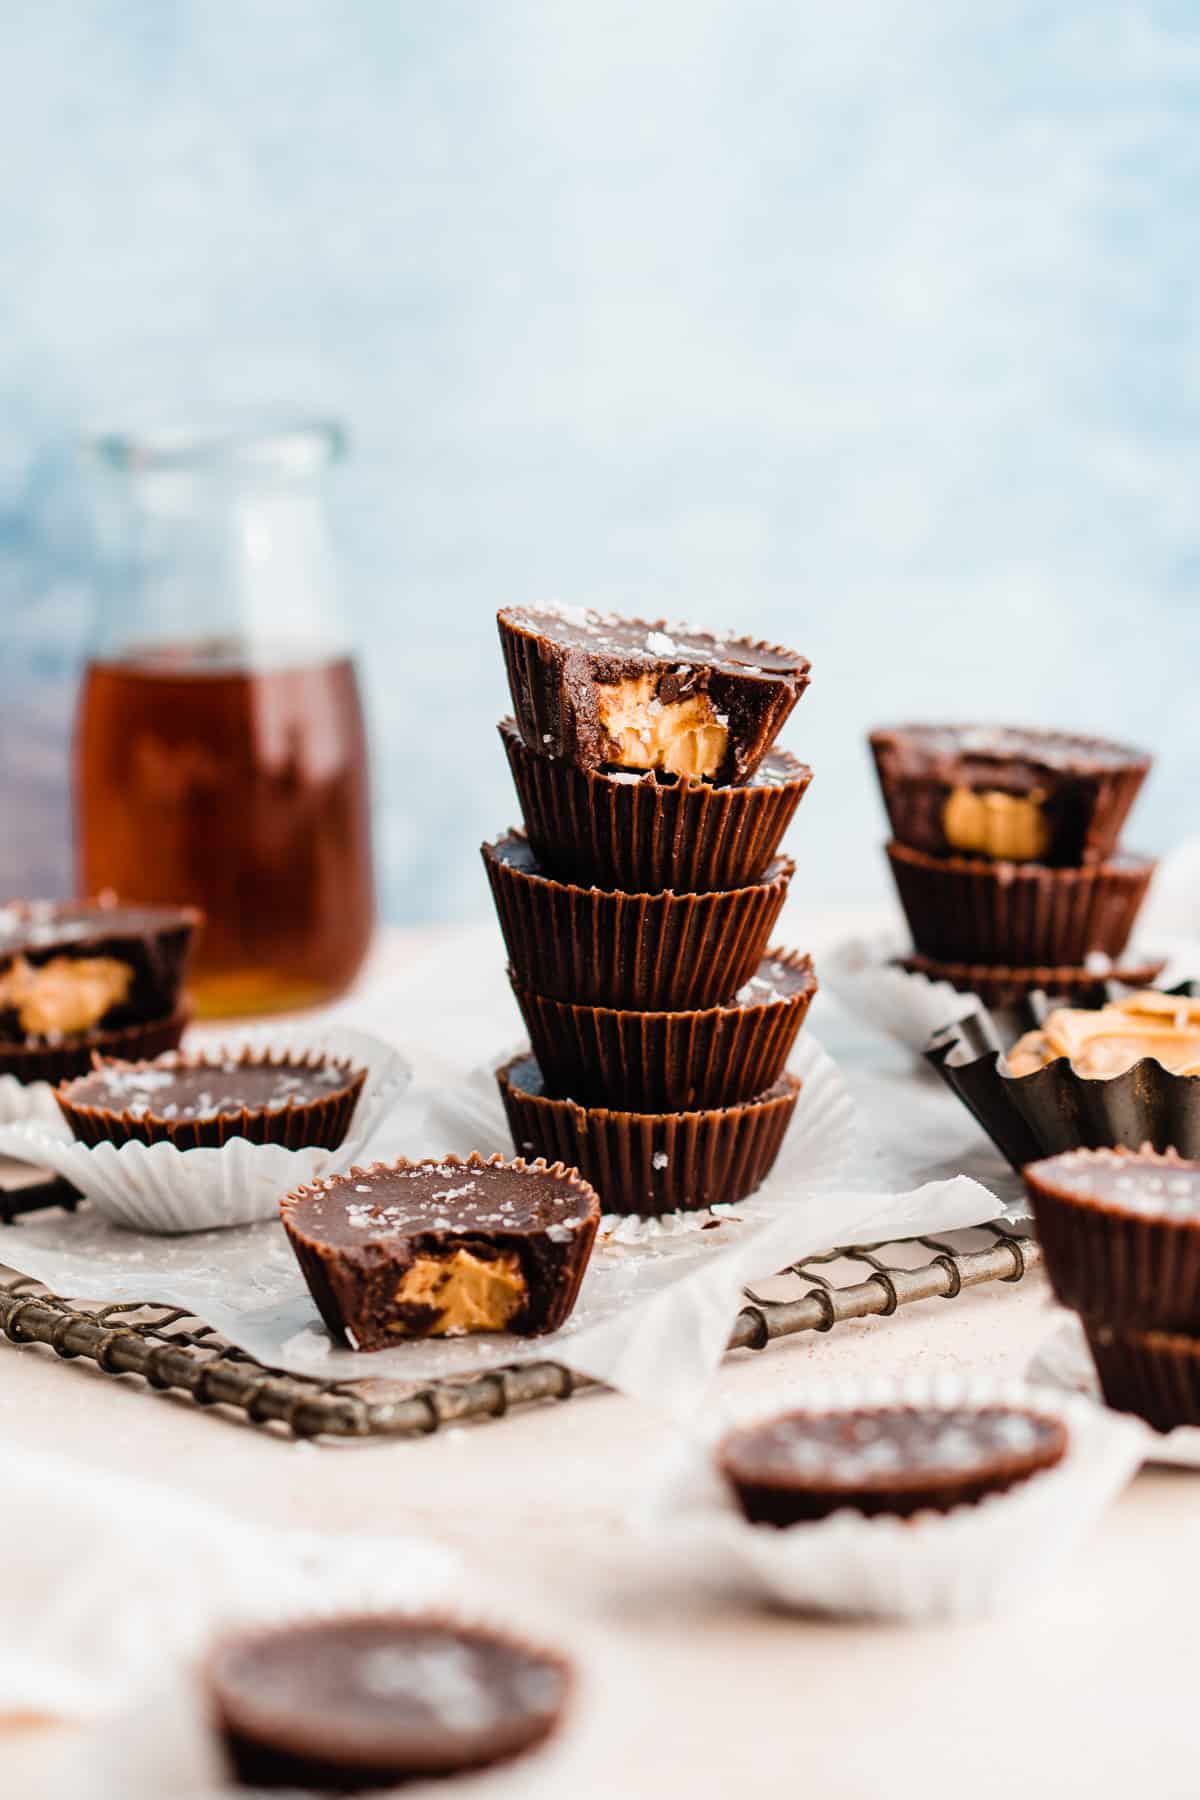
There's something uniquely comforting about a peanut butter cup. That perfect symphony of rich, creamy peanut butter and smooth, melty chocolate has captivated taste buds for generations. While store-bought versions hold a special place in our hearts, imagine a world where you could enjoy an even *better* version – one made with love, without preservatives, and tailored exactly to your preferences. Enter the realm of
homemade peanut butter cups. These irresistible treats are not only surprisingly simple to make, requiring just a handful of common ingredients and minimal active time, but they consistently outshine their mass-produced counterparts in flavor, texture, and wholesome goodness. Whether it's a quiet Tuesday night indulgence or a show-stopping dessert for a holiday gathering, making these yourself is an experience you won't regret.
Why Homemade Peanut Butter Cups Are a Game-Changer
The allure of store-bought peanut butter cups is undeniable, but once you try your hand at crafting them at home, you'll understand why it's a true game-changer. The difference is profound, transforming a beloved candy into a gourmet confection.
*
Unrivaled Flavor and Texture: The first bite of a homemade peanut butter cup is a revelation. The peanut butter filling is often richer, creamier, and has a more pronounced peanut flavor that isn't masked by excessive sugar. The chocolate coating is fresher, with a satisfying snap and a melt-in-your-mouth quality that's simply superior. You control the sweetness, allowing the natural flavors of high-quality chocolate and peanut butter to truly shine.
*
Wholesome Ingredients, No Guilt: One of the most compelling reasons to make your own is the ingredient list. Forget the hard-to-pronounce chemicals, artificial flavors, and unnecessary fillers found in many commercial candies. With a homemade recipe, every ingredient is something you recognize and trust – typically just chocolate, peanut butter, butter, powdered sugar, vanilla, and a pinch of salt. This control allows you to create
Healthier Peanut Butter Cups: No Preservatives, No Fillers, making them a treat you can feel good about enjoying and sharing.
*
Empowerment and Joy: There's an incredible satisfaction that comes from creating something delicious with your own hands. Offering guests a homemade chocolate confection is incredibly rewarding. It’s a testament to your culinary creativity and generosity, leaving a lasting impression far beyond the taste. This act of thoughtful creation turns a simple dessert into a memorable experience.
*
Customization Galore: Beyond taste, making your own opens up a world of customization. Want darker chocolate? A saltier peanut butter filling? A hint of vanilla bean? You have the power to tweak every element to suit your exact preference, creating a truly bespoke treat.
Mastering the Ingredients: The Unsalted Butter Secret
While the recipe for homemade peanut butter cups is wonderfully straightforward, understanding the role of each ingredient can elevate your results from good to absolutely phenomenal. One small but significant choice revolves around butter: always opt for *unsalted*.
Here's why unsalted butter is the secret weapon for consistently perfect desserts, especially your homemade peanut butter cups:
*
Control Over Salinity: Different brands of salted butter contain varying amounts of salt, which can lead to unpredictable results in your final product. One batch might taste perfectly balanced, while another could be oddly briny. Starting with unsalted butter allows you to add salt yourself, ensuring you have complete control over the flavor profile and can achieve that ideal sweet-and-salty balance that makes peanut butter cups so addictive.
*
Consistent Baseline: Unsalted butter provides a clean, neutral fat base. This consistency is crucial in dessert making, where precise ratios and predictable reactions are key to achieving the desired texture and flavor. It removes a variable, making your recipe more reliable every time.
*
Professional Approach: Most professional bakers and cookbook authors assume the use of unsalted butter, with any additional salt listed as a separate ingredient. This separation isn't just about precision; it's about giving you, the home baker, the power to fine-tune your creations.
Embracing unsalted butter is a small decision that leads to big, delicious results. It's about knowing exactly what goes into your food and having the confidence that your homemade peanut butter cups will turn out perfectly predictable and undeniably delicious every single time. Beyond the butter, using good quality chocolate (chips or bars, melted) and natural peanut butter (creamy or crunchy, depending on your preference) will also make a significant impact.
Simple Steps to Peanut Butter Perfection (and Time-Saving Tips)
One of the most appealing aspects of making
homemade peanut butter cups is how incredibly easy and quick the process is. You're looking at about 15-20 minutes of active work before these delectable treats essentially finish themselves chilling in the fridge. This makes them an ideal candidate for a spontaneous craving, a quick party dessert, or even a fun activity to do with kids.
Here’s a simplified overview of the typical process and some tips to streamline your creation:
1.
Melt Your Chocolate: Gently melt your chocolate of choice (chips or chopped baking chocolate work best) using a double boiler or microwave. Ensure it's smooth and glossy.
2.
Prepare the Peanut Butter Filling: In a separate bowl, combine your peanut butter, softened unsalted butter, powdered sugar, and a touch of vanilla extract. Mix until smooth and creamy. A pinch of salt here can really enhance the flavor.
3.
Assemble the Cups: Line mini muffin tins with paper or silicone liners. Spoon a small amount of melted chocolate into the bottom of each liner, swirling it up the sides slightly.
4.
Add the Filling: Place a dollop of your peanut butter filling onto the hardened chocolate base.
5.
Top with More Chocolate: Cover the peanut butter filling with another spoonful of melted chocolate, ensuring it completely encases the filling. Gently tap the tray to smooth the tops.
6.
Chill and Set: Refrigerate the cups until the chocolate is fully set. This is where the magic happens almost entirely on its own!
Time-Saving Tips:
*
Mise en Place: Before you begin, measure out all your ingredients. Having everything ready to go will make the assembly process much quicker and more enjoyable.
*
Use the Microwave Wisely: If using a microwave to melt chocolate, do so in short bursts (30 seconds at a time), stirring thoroughly between each burst to prevent burning.
*
Work in Batches: If you're making a large quantity, consider melting your chocolate in two batches to keep it at the ideal working temperature.
*
Involve the Family: This
Quick No-Bake Peanut Butter Cups: Perfect for Any Occasion recipe is perfect for involving children. They can help with spooning chocolate or rolling peanut butter balls, making it a fun culinary adventure.
Storing Your Delicious Homemade Peanut Butter Cups
Once you’ve experienced the joy of making and tasting your own homemade peanut butter cups, you’ll want to ensure they last as long as possible (though resisting them might be the real challenge!). Proper storage is key to maintaining their fresh taste and perfect texture.
*
Refrigeration for Freshness: Store your homemade peanut butter cups in an airtight container in the refrigerator for up to 2 weeks. An airtight container is crucial to prevent them from absorbing any unwanted odors from other foods in your fridge or developing condensation, which can affect the chocolate's texture.
*
Freezing for Long-Term Enjoyment: For longer storage, homemade peanut butter cups freeze beautifully. Place them in an airtight, freezer-safe container, separating layers with parchment paper if stacking. They will last in the freezer for up to 3 months.
*
Thawing for Optimal Texture: When you're ready to enjoy a frozen treat, simply take the desired number of cups out of the freezer and let them sit at room temperature for a few minutes before eating. This allows the peanut butter filling to soften slightly, bringing it back to that ideal creamy consistency. While some enjoy them straight from the freezer for a firmer, colder bite, allowing them to warm just a bit enhances their classic appeal.
Beyond the Classic: Personalizing Your Homemade Peanut Butter Cups
The beauty of
homemade peanut butter cups lies not just in their superior taste and natural ingredients, but also in the endless possibilities for customization. Once you've mastered the basic recipe, you can unleash your creativity and tailor these treats to specific tastes or occasions.
*
Chocolate Variations: Don't limit yourself to milk chocolate! Experiment with dark chocolate for a more sophisticated, less sweet profile, or white chocolate for a creamy, decadent twist. You can even swirl different chocolates together for a marbled effect.
*
Nut Butter Alternatives: While peanut butter is the classic, consider other nut butters for delightful variations. Almond butter cups offer a slightly different nutty depth, while cashew butter creates an incredibly rich and mild filling. Ensure your chosen nut butter is natural and relatively firm for the best consistency.
*
Flavor Enhancements: A tiny pinch of sea salt sprinkled on top of the finished chocolate coating beautifully complements the sweetness and enhances the peanut butter flavor. You could also add a drop of peppermint extract to the chocolate for a holiday twist, or a dash of cinnamon or nutmeg to the peanut butter filling for warmth.
*
Texture Add-ins: For those who love a bit of crunch, fold mini chocolate chips, finely crushed pretzels, or even a spoonful of crispy rice cereal into your peanut butter filling. This adds an exciting textural contrast that elevates the experience.
*
Seasonal & Decorative Touches: Use festive sprinkles on top for holidays, or pour the chocolate into silicone molds of varying shapes (hearts, stars) for special occasions. A drizzle of contrasting melted chocolate or a dusting of cocoa powder can also add a gourmet touch.
These simple adjustments allow you to make each batch of homemade peanut butter cups uniquely yours, ensuring they're always a fresh and exciting treat.
In conclusion, embarking on the journey of making your own
homemade peanut butter cups is a decision you won't regret. It's a simple, rewarding process that yields a product far superior in taste, texture, and wholesome goodness compared to anything you'll find on a store shelf. From the control over natural ingredients and the precise balance of flavors, to the sheer joy of creating a delicious treat with your own hands, every aspect points to an unforgettable experience. So, ditch the processed candies and embrace the magic of DIY. Your taste buds, and your guests, will thank you.